Pothos, known for their trailing vines and easy-care nature, are a favorite among both beginner and experienced plant enthusiasts. Their heart-shaped leaves and fast-growing nature make them an ideal choice for propagation, whether you’re expanding your own plant collection or sharing cuttings with friends. In this comprehensive guide, we’ll walk you through five simple steps to propagate Pothos successfully, ensuring that your new plants thrive.
Step 1: Choosing the Right Vine
When choosing the right vine for propagation, it’s essential to select a healthy part of the plant. Inspect your Pothos and find stems that have at least 4-6 healthy leaves and visible nodes.Nodes are small protrusions on a vine where both leaves and roots emerge and develop. Avoid stems that are browning, wilted, or show signs of disease, as these cuttings may struggle to root or thrive.
Healthy cuttings come from vibrant vines with firm, green leaves. Varieties such as the golden Pothos, neon Pothos, and marble queen can all be propagated with the same method, though each adds a unique aesthetic to your collection. Remember that the success of your propagation depends on starting with a robust section of the plant.

Step 2: Preparing Your Cuttings
Preparation is key to successful propagation. Use clean, sharp scissors or pruning shears to ensure a clean cut and reduce the risk of bacterial infection. Make your cut directly beneath a node, since this is where new roots will grow. Each cutting should be 4-6 inches long, with at least one node and one or two leaves left on it. This size allows for sufficient growth while minimizing the plant’s energy needs during the rooting phase.
Before placing the cuttings in water, remove any leaves near the nodes. Leaves submerged in water can decompose and cause bacterial growth, which may hinder root development or damage the cutting. Keep the leaves above the waterline clean and healthy to maximize the cutting’s chances of thriving.

Step 3: Rooting in Water
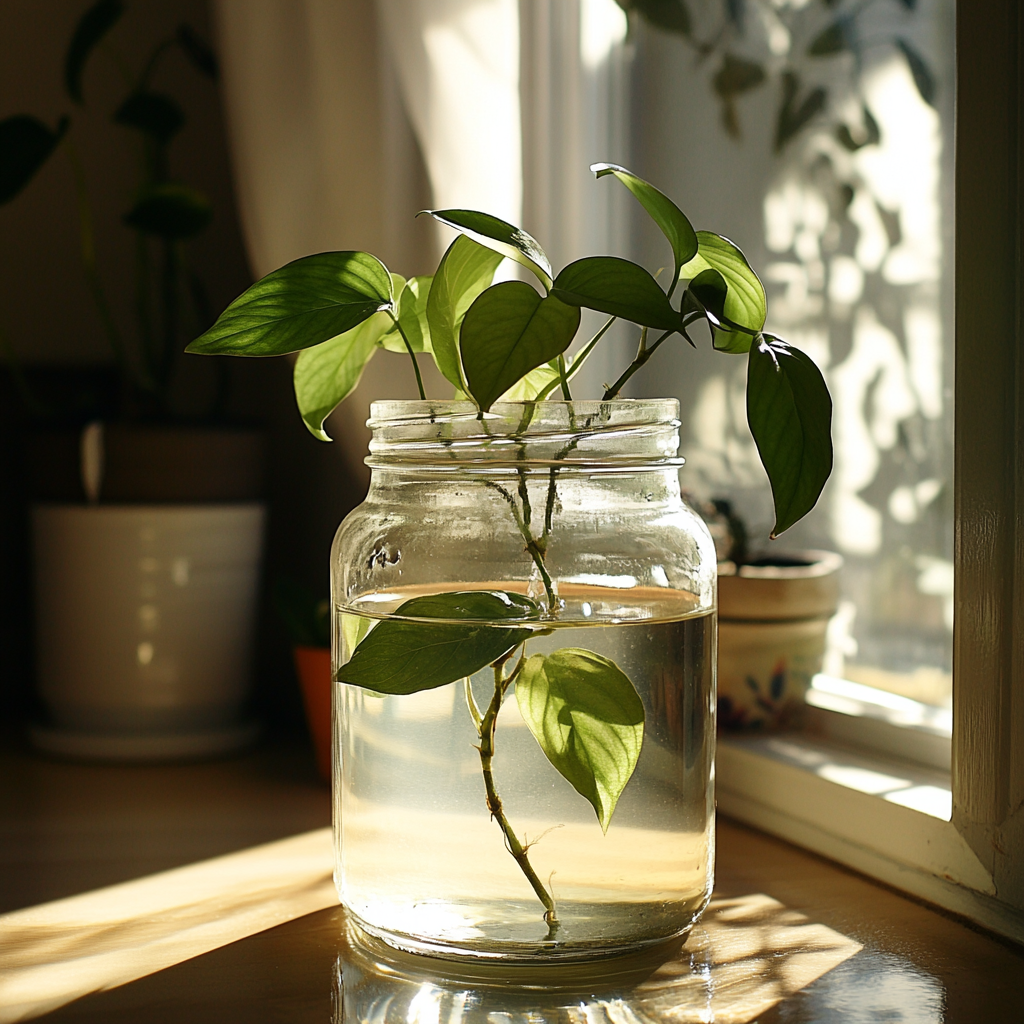
Rooting your Pothos cuttings in water is one of the easiest and most satisfying steps. Put the cuttings into a transparent jar or glass filled with room-temperature water, making sure the nodes are completely submerged while keeping the leaves above the water’s surface. The clear container allows you to monitor the root growth and see when it’s time to change the water.
Position the jar in a location with bright, indirect sunlight. Direct sunlight can scorch the leaves or overheat the water, while low light will slow down root development. Check the water every few days and change it every 3-5 days to prevent stagnation and bacterial buildup. Adding a few drops of liquid houseplant fertilizer can provide an extra nutrient boost, but this step is optional.
Patience is vital during this phase. In ideal conditions, roots should start appearing within 2-4 weeks. Keep an eye on the cuttings and celebrate as those tiny white roots begin to grow and elongate!

Step 4: Transferring to Soil
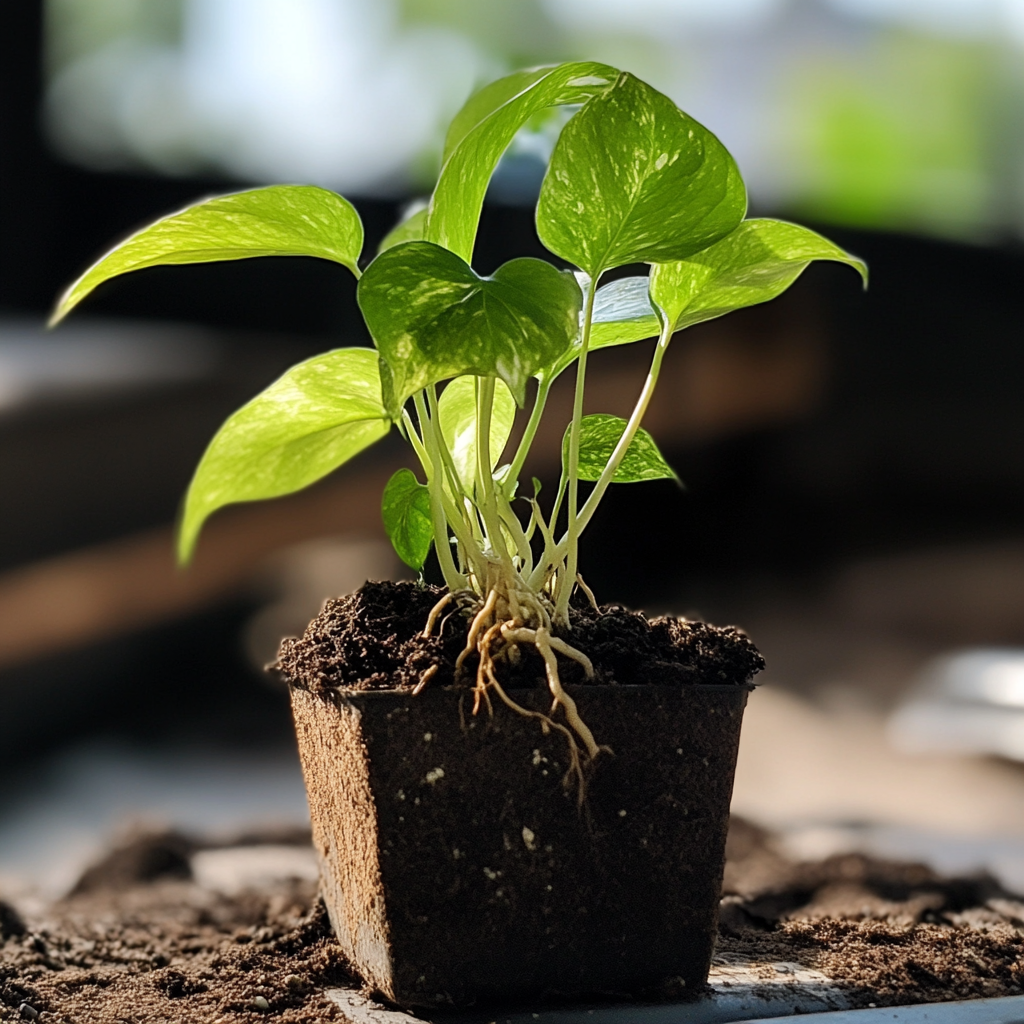
Once your Pothos cuttings have roots that are 1-2 inches long, they’re ready to be transferred to soil. Using a well-draining potting mix is essential to avoid water retention and potential root rot. A mix that contains peat moss, perlite, or vermiculite works well for Pothos. Make sure the pot you choose has drainage holes to help prevent overwatering.
Plant the rooted cuttings in small pots filled with the prepared potting mix. Gently place the cutting into the soil so that the node with roots is buried, and lightly pat the soil to secure it. Water the plant immediately after potting to help the roots establish themselves in the new environment. Ensure that the water drains through the pot and avoid letting the plant sit in excess water.
Place the pot in a warm, humid spot with bright, indirect sunlight. The plant will need a little extra care as it adjusts to the soil, but within a couple of weeks, you should see new growth starting to emerge.

Step 5: Post-Transplant Care
Caring for your newly propagated Pothos is critical to ensure continued growth and health. Keep the soil moderately moist, but avoid overwatering, as Pothos are susceptible to root rot.As a general guideline, water the plant when the top inch of soil feels dry to the touch.
Humidity plays an important role in keeping the plant happy, especially in the early stages of adaptation. If your home tends to be dry, try using a humidifier or placing a tray of water nearby to increase the humidity levels. Regular misting can also help maintain a healthy moisture balance.
Monitor the plant for signs of stress or adaptation, such as yellowing leaves or slow growth. If you notice these issues, check the watering schedule, soil quality, and lighting conditions. Adjusting one or more of these factors can help restore your plant’s health.

Common Issues and Solutions
During and after the propagation process, you may run into a few common issues:
- Yellowing Leaves: could be a sign of overwatering or inadequate drainage. Ensure that the pot has proper drainage holes and adjust your watering routine.
- No Root Growth: If roots don’t appear after several weeks, the cutting may not have received enough light or the water may need to be refreshed more often. Consider moving the cutting to a brighter location and changing the water more frequently.
- Rotting Cuttings: If a cutting starts to look slimy or develops a bad odor, it’s likely rotting. Discard the cutting and start again with a fresh, healthy vine.

Conclusion
Propagating Pothos is a straightforward and enjoyable process that allows you to expand your indoor plant collection and share greenery with friends and family. By following these five simple steps, you can ensure a high success rate for your new plants. Take the time to monitor your cuttings and adjust their environment as needed, and soon enough, you’ll have a lush, thriving Pothos collection.
For more plant care tips, check out our related article, “7 Essential Tips for White Bird of Paradise Care.”
FAQs
1. How long does it take for Pothos cuttings to root? Root development usually takes 2-4 weeks, depending on light and temperature conditions.
2. What’s the best water to use for propagating Pothos? Room-temperature tap water is fine, but let chlorinated water sit for 24 hours to allow the chlorine to evaporate, or use filtered water.
3. Can Pothos be propagated directly in soil? Yes, Pothos can be propagated in soil by planting the cutting with a buried node. However, water propagation allows you to monitor root growth more easily.
4. What type of soil is best for Pothos? A well-draining mix with peat moss and perlite or vermiculite is ideal for Pothos to prevent waterlogging.
5. What signs indicate that my propagated Pothos needs water after being potted in soil? Check the top inch of soil—if it feels dry, it’s time to water. Make sure the pot has drainage holes to prevent root rot.
Join Me on Instagram and Pinterest for More Inspiration!
For more plant care tips, design ideas, and endless inspiration, don’t forget to join me on Instagram and Pinterest. Follow along for daily updates on how to create stunning indoor gardens and incorporate greenery into your home decor. I can’t wait to connect with you and share more ideas to transform your space with the beauty of plants!


