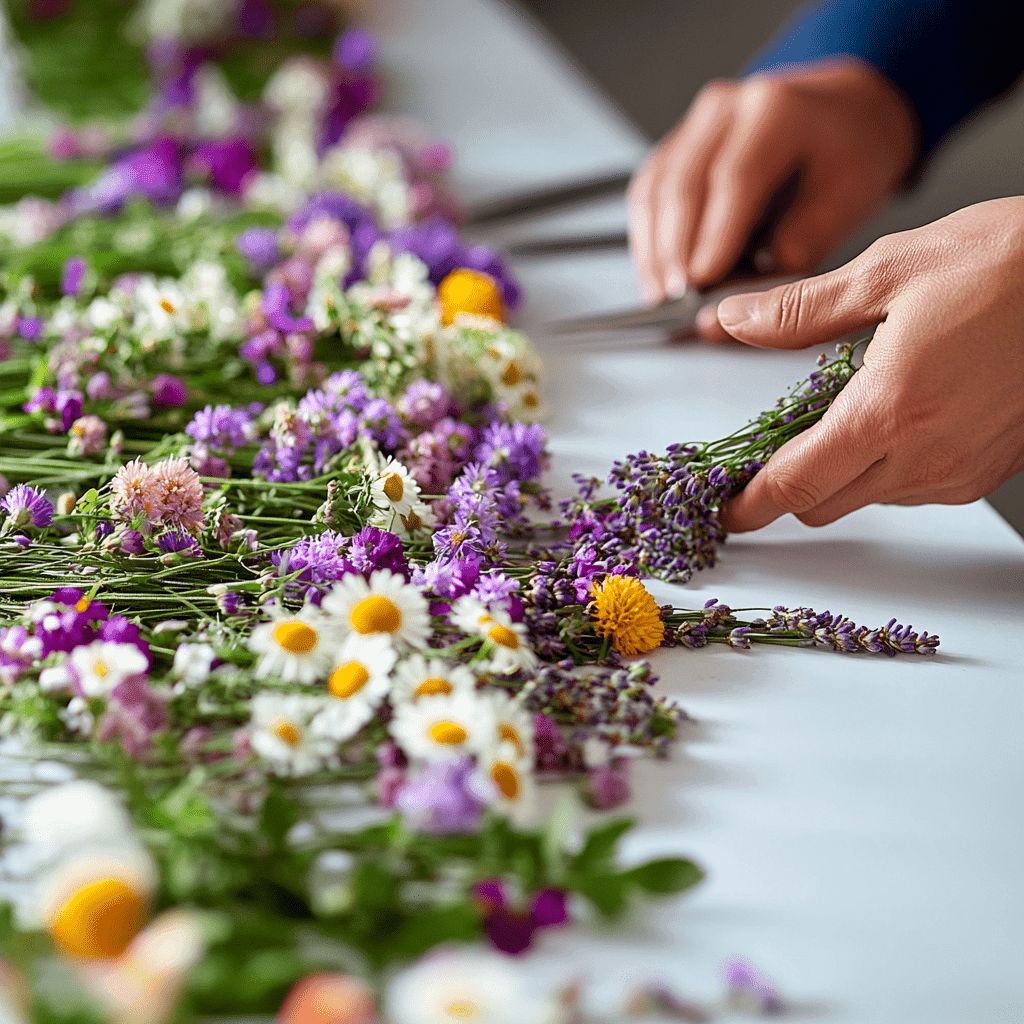
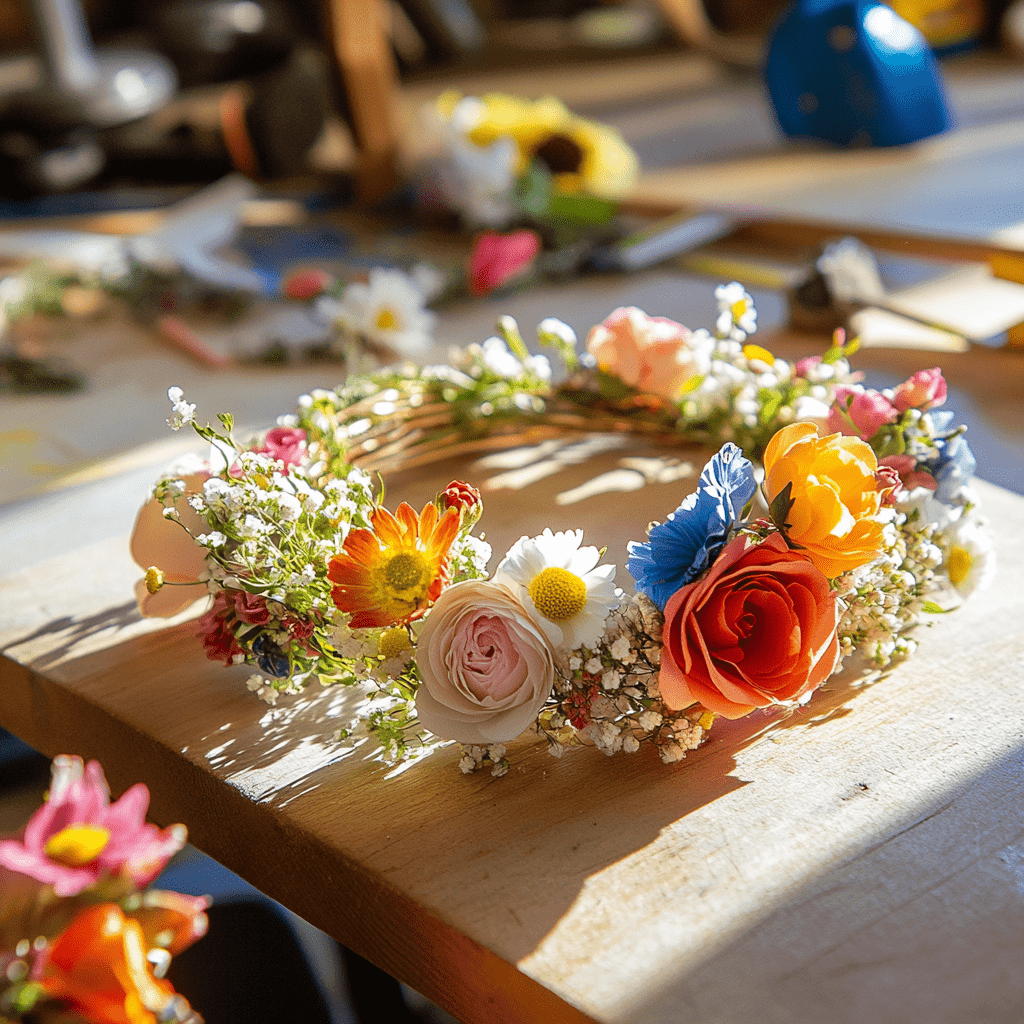
Creating your own flower bracelet is a rewarding way to add a touch of nature to your style. In this article, you will learn the basics of how to create a flower bracelet and use it for more than events as well giving your appearance another feeling.
1. Gather Your Supplies
What you need to make the beaded flower corsage bracelet:
- Fresh flowers think small, robust blooms like daisies, baby’s breath or spray roses
- Greenery: Adds texture to hold the bracelet together accented with Eucalyptus or ferns.
- Floral wire : For wrapping the flowers, not too thick of a wire
- Floral tape :holds the stems but you can’t see it.
- Ribbon or Twine: As a finishing touch to add prettiness, style and neatness.

2. Choose and Prepare Your Flowers
Choose strong and diminutive blooms that do not die off easily. Though you might want peonies, maybe opt for a bloom that will survive the car ride without a vase of water—carnations hold up quite well and include wax flowers in your palette to complement or tuck lavenders about. Just trim the stems to 2 or 3 inches, and strip off any leaves that would fall below water level. Short stems keep the bracelet from feeling too heavy or bulky.
For a more unusual look, combine different kinds of flowers (and colours) to give depth and texture.

3. Create the Bracelet Base
Measure your wrist and cut floral wire that is a tad longer then what you will need in order for it to be long enough to tie. First tape the floral wire to make it wearable and create a firm foundation. Use floral tape to secure the greenery while working it along where you have placed your flowers so that they will be eventually covered.
A greenery layer not only enhances the full appearance of your bracelet but it also acts as a uniform base you will be able to stick flowers easily into.
4. Attach the Flowers
Using the smallest flowers first, attach each bloom to your wire base with a little bit of floral tape. Arrange flowers with their faces outwards and fill in small filler flowers or buds. Continue the rest of your flower lengthwise along your bracelet, plugging in any gaps with smaller flowers or bits of green!
With each flower you are attaching, ensure that there is no wiggling and the tape will not unravel throughout the whole day. If any flowers are fragile or dehydrating do not put them as they will likely wilt without water.

5. Add Finishing Touches and Secure
Once you have all the flowers in place, wrap a ribbon or twine around both ends of the floral wire and twist to create a loop that can be used for tying. The strap also means the bracelet is adjustable and a nice ornate addition. Finish by tying a little bow to the back of this bracelet, if you like.
Mist the flowers lightly with water to help them last as long as possible and placing it in a cool place when not wearing. This type of flower bracelets usually last for a few hours but can even hold up to one full day depending on the flowers and environmental conditions.

Tips for Customizing Your Flower Bracelet
- Add Charm: Make your bracelet unique by adding some charms or beads.
- Alternate Flowers and Greenery: If you want a different type of arrangement, mix up flowers and greenery from one layer to the next.
- Experiment with Dried Flowers::Dried flowers will last much longer and give your bracelet a vintage vibe
Conclusion
The best part of making a flower bracelet is the enjoyment that it can be and another way to become one with nature. Experiment with different types and colors of flowers depending on the event or season. But by following these five steps, you will be well on your way to making a lovely flower bracelet that is also customizable.
Stay Connected for More Inspiration!
Want to see some more creative plant ideas? Join me on Instagram and Pinterest to see what I’m up to, follow along, and get daily inspiration. Get involved and join the green community now!

