Have you ever wondered how those fascinating luffa sponges are made? They’re not from the ocean but from loofah plants, which are part of the Cucurbitaceae family, much like cucumbers. Growing luffa gourds can be a rewarding gardening hobby. They have long vines, requiring ample space and a sunny spot. Whether you plant loofah plants in your backyard or a container garden, the process is straightforward. Start with quality luffa gourd seeds and prepare well-drained, compost-rich soil.
To plant and grow these unique plants, ensure consistent watering and sturdy support for the vines. This journey from seed to sponge is fun and educational, so let’s dive into the art of how to grow loofah plants!
Key Takeaways
- Choose a sunny location and prepare well-drained, compost-rich soil for planting.
- Support long vines with a sturdy trellis to prevent rotting and ensure air circulation.
- Monitor for pests like cucumber beetles and diseases such as powdery mildew.
- Harvest luffa gourds before the first frost and allow them to dry on the vine.
- Peel and rinse dried gourds to reveal the loofah sponge, then sanitize if desired.
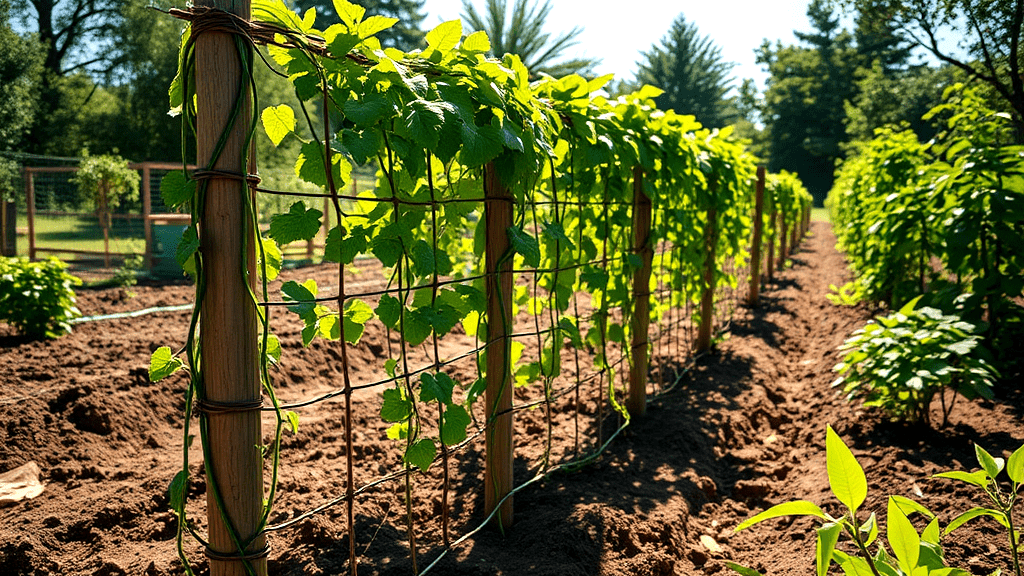
Understanding the Loofa Plant
When diving into the world of loofa cultivation, selecting the right spot is vital. These fascinating plants, similar to cucumbers and squash, demand ample sunlight and a long growing season. They’re sun-loving, so choose a spot where they can bask in the sun all day. Loofa plants require plenty of space, so consider your gardening area wisely. To grow luffa in a container garden, ensure the pot is large enough for their ambitious roots. As you plant loofah plants, remember to provide a sturdy trellis for support. With patience, you’ll soon enjoy natural, eco-friendly loofah sponges!
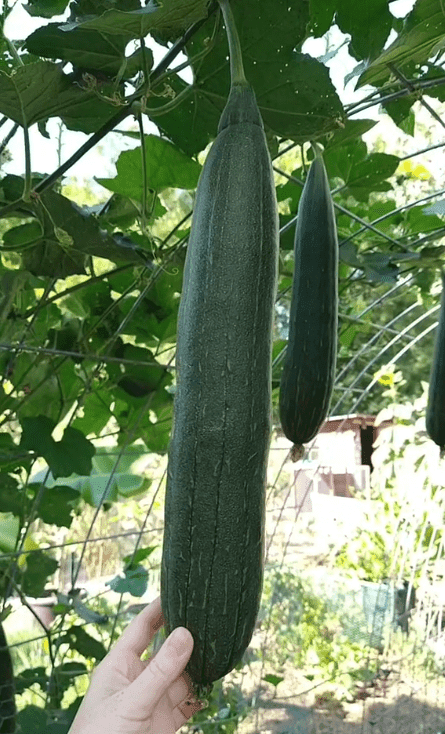
Choosing the Right Location
Selecting the perfect spot for loofa cultivation is a game-changer. Loofah plants crave sunshine and a long growing season, so choose a sunny location. They won’t thrive in cramped spaces, so give them plenty of elbow room. If you’re considering a container garden, pick a pot large enough for their sprawling roots. It’s like laying out the red carpet to promote their growth. As you plant and grow these vines, remember to offer a trellis for support. With a little care, you’ll soon enjoy the fruits of your labor—natural loofah sponges!
Read also my article about Garden Trellis Ideas and Uses
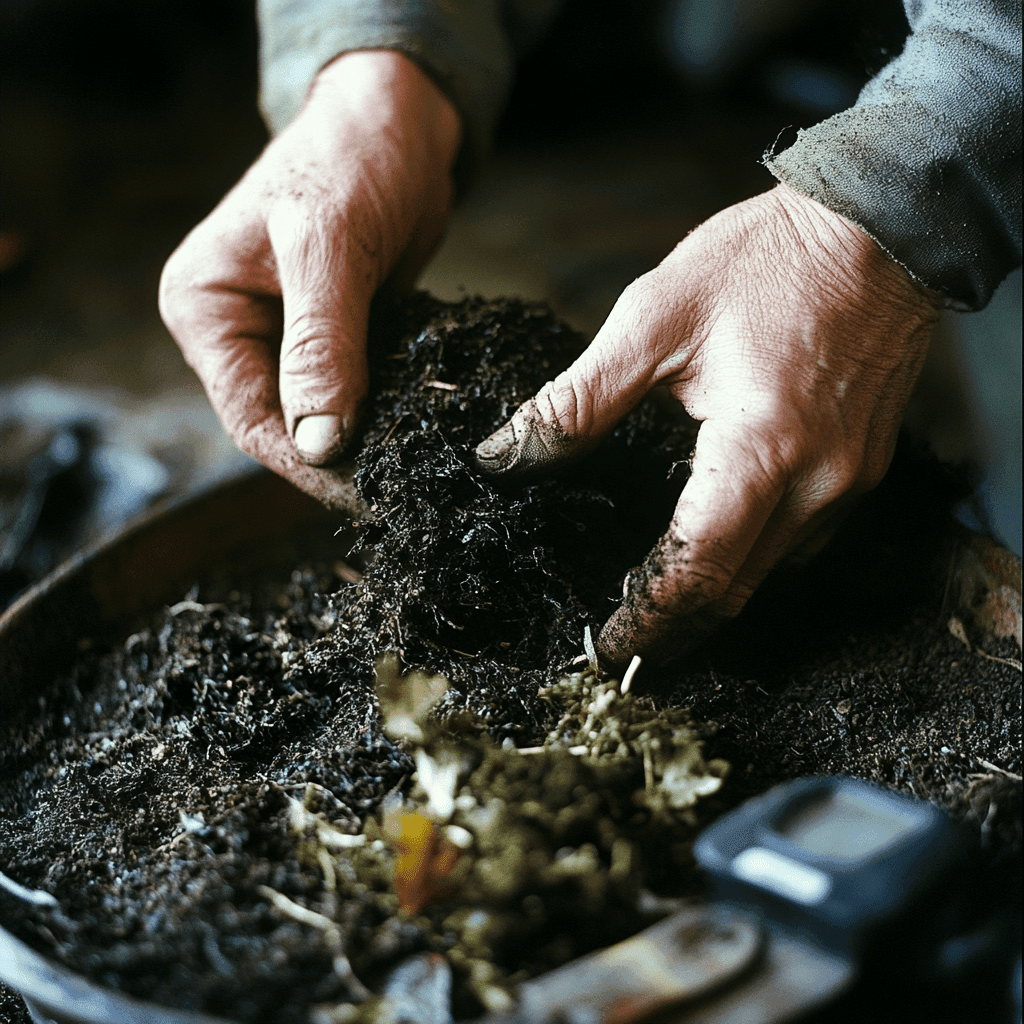
Preparing Soil for Loofa Growing
Getting soil ready for luffa means ensuring it drains well and is rich in nutrients. Start by mixing in compost or well-rotted manure to boost fertility. Aim for a pH level between 6.0 and 6.5 for optimal growth. Think of this as setting the stage for your luffa seeds to thrive. Like prepping for a big performance, the foundation must be solid. With the soil in tip-top shape, you’ll be on your way to growing luffa that transform into fantastic loofah sponges. Your plants will thank you, and you’ll marvel at the results.
Planting Loofa Seeds
Before diving into how you plant and nurture loofa seeds, there’s a handy tip. Give the seeds a little soak in water for 24 hours. This helps them sprout better. Once soaked, plant them about half an inch deep. Whether in pots or the ground, ensure temperatures are above 70°F. Consider biodegradable pots to ease transplanting. Remember, your loofah plants will appreciate a warm spot and some elbow room. With care, you’re on your way to growing luffa gourds that transform into eco-friendly luffa sponges!
Caring for Loofa Plants
When tending to loofa vines, ensure consistent watering. Keep the soil moist, but not swampy. Use an all-purpose organic fertilizer sparingly. Shield your garden from pests like cucumber beetles. If powdery mildew appears, act quickly to manage it. Providing a sturdy trellis helps loofa plants reach for the sky. They enjoy climbing, so support is key for healthy growth. It’s like offering them a ladder to success. With these tips, you’ll master how to grow and care for loofa gourds. Your efforts will soon yield the satisfaction of eco-friendly, homemade luffa sponges.
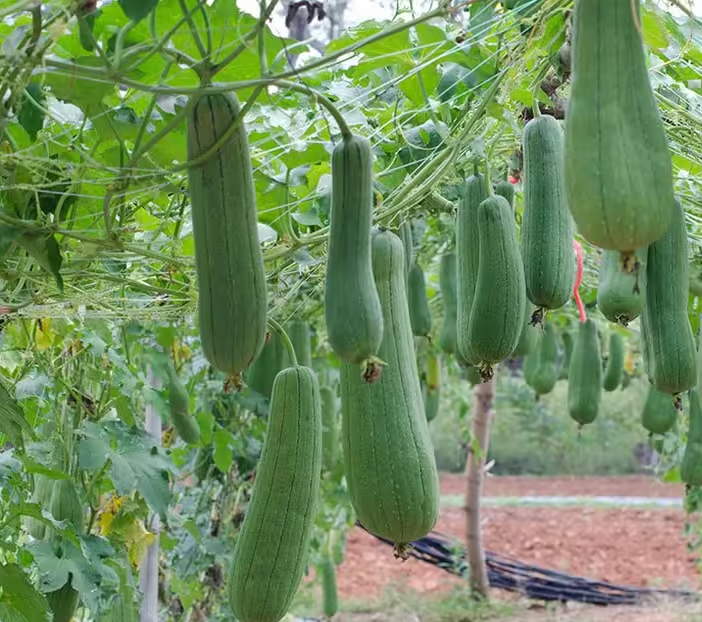
Supporting Loofa Vines
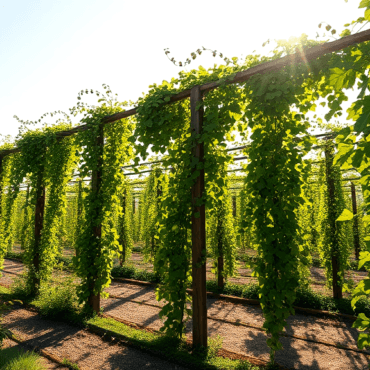
Strengthening supports for loofa vines is paramount to their growth. Picture this: your loofa vines reaching for the sky, climbing a robust trellis. It’s like giving them a ladder to success. This support helps prevent rot and encourages air circulation, keeping pests at bay. Choose a stand that can handle their weight—loofah plants aren’t lightweight! Consider using wire mesh or a sturdy wooden frame.
Also, remember that loofa vines love to stretch. Give them ample space to twine and climb. With the right setup, your growing luffa gourds will transform into eco-friendly sponges, bringing joy to any gardener’s heart!

Growing Loofa in Containers
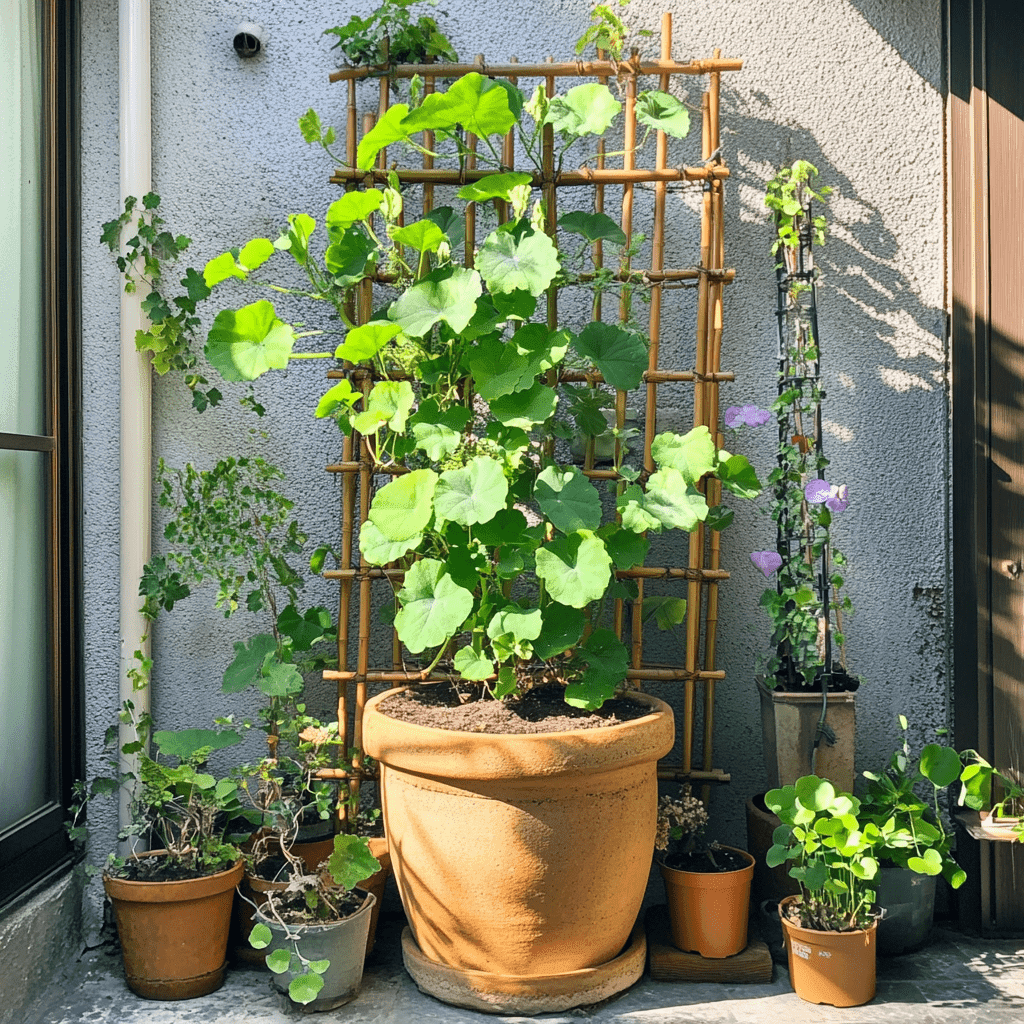
Setting up a container garden for loofa? Choose large pots—25-30 gallons is perfect. These big homes let loofa seeds spread their roots far and wide. Make sure the pots drain well to avoid any soggy mess. You might need to plant and grow them indoors if it’s chilly outside, starting seeds early for a head start. Once they sprout, offer a sturdy trellis for those climbing loofah plants. They love to reach for the skies! Before you know it, you’ll be ready to harvest and enjoy those amazing luffa sponges.
Identifying Pests and Diseases
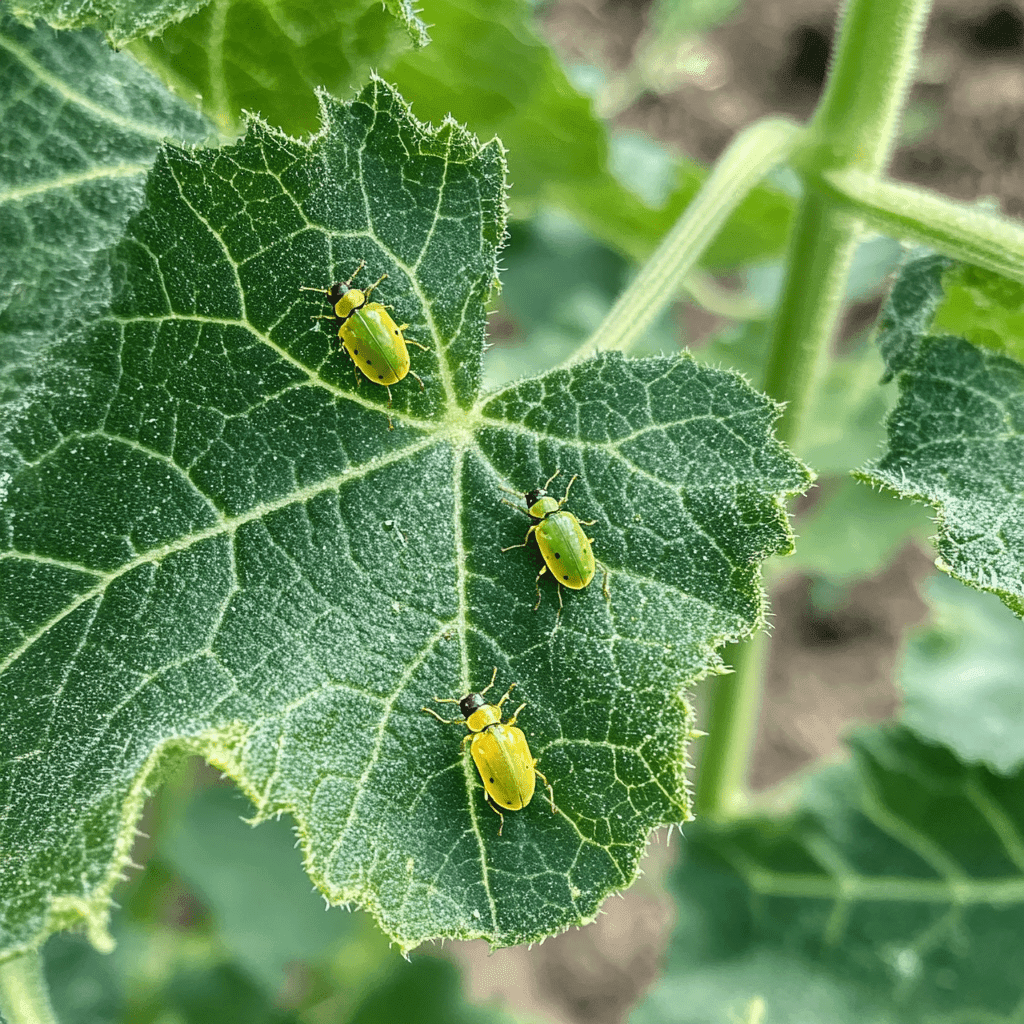
Spotting trouble in your loofa garden requires a keen eye. Those pesky cucumber beetles? They’re like the nosy neighbors of your plant world, always meddling. Keep them at bay with organic treatments. Powdery mildew is another uninvited guest. Space your plants well for good airflow. This keeps diseases from crashing the party. Feeling adventurous? Try companion planting to confuse the pests. It’s like throwing a curveball at them! Growing luffa gourds can be a wild ride, but with a little care, your efforts will pay off. Happy gardening!
Harvesting Loofa Gourds
When it’s time to gather loofa gourds, timing is everything. Aim to collect them 6-7 months after planting, preferably before frost hits. If possible, let them dry on the vine. In cooler climates, pluck them while green and dry indoors. This ensures a top-quality sponge. It’s like plucking a piece of nature’s magic! After drying, peeling reveals the fibrous treasure inside. These gourds might seem unassuming, but with a little patience, they transform into versatile sponges. As you prepare to grow and care for next season, save seeds from the mature ones.
Processing Loofa Sponges
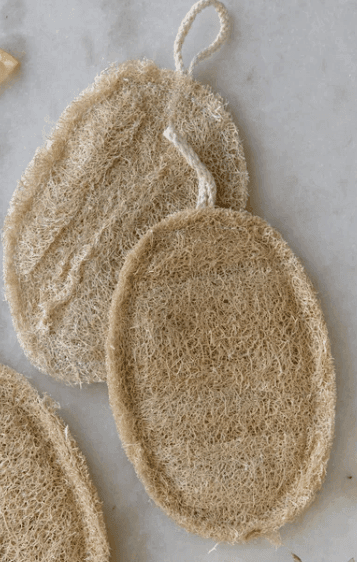
Transforming dried gourds into loofa sponges is quite the adventure. First, peel away the tough exterior to uncover the fibrous interior. It’s like unwrapping a gift! Give these fibers a good rinse to remove any lingering seeds or debris. Want them extra clean? A quick dip in a mild bleach solution does the trick. After that, rinse thoroughly and let them dry completely. They’ll be ready for action in no time! These natural wonders are perfect for scrubbing dishes, exfoliating skin, or even cleaning veggies. Keep them dry between uses to maximize their lifespan.

Using Loofa Sponges in Daily Life
Incorporating loofa into your daily routine can be refreshing. They’re perfect for exfoliating skin, leaving you feeling invigorated. Stubborn food stains on pots? Loofa’s abrasive texture scrubs them away easily. Vegetables need cleaning? The loofa does the trick, removing dirt without damaging sensitive skins. Ensure your loofa dries completely between uses to avoid bacteria. A damp loofa isn’t a happy loofa! Talking to your loofa might not help, but treating it well will keep it around longer. Enjoy the simplicity and eco-friendliness of this natural tool, and let it become a staple in your daily life.
Saving Loofa Seeds for Next Season
Thinking about next year’s loofa harvest? Harvest seeds from ripe gourds. Choose only the plump, black ones. They’re the champions for planting. Dry them thoroughly; moisture is their kryptonite. Store seeds in a cool, dry place, away from sunlight. A labeled envelope works wonders. This keeps them fresh and ready for action next spring. When the time comes, you’ll be planting those seeds in your container garden like a pro. It’s an investment in next season’s success. Remember, planning now means lush vines and abundant harvests later. Get ready to plant and grow!
Common Mistakes and How to Avoid Them
Sidestepping errors in growing loofa can make all the difference. First, never plant them in shady spots; sunshine is their best friend. Forgetting to harden off seedlings before outdoor planting? That’s a rookie move. Gradually expose them to the outside world to avoid shock. Keep watering consistent, but don’t drown them. Too much water is a silent killer. Watch those temperature dips. Loofas hate cold surprises. If they could talk, they’d say, “Brrr!” Lastly, remember to plant and grow with patience. Your loofa journey will be smoother than a well-harvested sponge!
Conclusion
Growing loofa can be a rewarding garden adventure. It’s not just about the harvest; it’s about the journey. Each step, from planting seeds to crafting sponges, brings its own joy. Don’t be afraid to get your hands dirty. Mistakes are just part of the learning process.
Remember, loofa plants need patience and care. They’re like a needy pet that rewards you with unique gifts. And when those first gourds appear, you’ll feel like a proud plant parent. So, grab your gardening gloves and dive in. You’ve got the tips, now it’s time to start. Who knows? You might just become the neighborhood loofa guru!
FAQ
- How long does it take for loofa seeds to germinate?
Loofa seeds typically germinate in 10 to 14 days. Keep soil warm and moist. Patience is key here. Don’t worry if they take a little longer.
- Can I grow loofa in a small garden?
Yes, you can! Loofa needs space to climb, though. Use a trellis or fence to save ground space. They can reach for the sky, leaving room for other plants.
- What should I do if my loofa plant gets powdery mildew?
First, don’t panic! Remove affected leaves and improve air circulation. Use organic fungicides if needed. Keep leaves dry when watering.
- How do I know when loofa gourds are ready to harvest?
Check the color. They should be brown and dry. Give them a shake. If seeds rattle inside, it’s harvest time!
- Why are my loofa seeds not germinating?
Loofa seeds need warmth to sprout. Ensure soil is consistently above 70°F. Soak seeds before planting to boost germination. If still no luck, try a different seed source.
Stay Connected for More Inspiration!
Want to see some more creative plant and garden ideas? Join me on Instagram and Pinterest to see what I’m up to, follow along, and get daily inspiration. Get involved and join the green community now!

